.png)


About •
Documentation •
Development •
Technologies •
Layout •
Authors •
Certifications •
License
Português (BR) •
English
BandejApp is a management system for university restaurants designed to reduce food waste by providing more efficient management. The application allows users to pre-register their meals, confirm attendance, evaluate service quality, and submit improvement suggestions. Administrators have access to detailed data on the number of people who registered and confirmed their attendance, enabling better planning of the food quantities to be prepared and redistributed among the university restaurant’s units. Additionally, administrators can publish announcements and view user suggestions and reviews.
This project was conceived by Letícia de Oliveira Gago and, under the guidance of Flávio Luiz Seixas, several meetings were conducted to develop a technological solution to reduce food waste in university restaurants, ultimately leading to the creation of BandejApp. After the application was fully operational, a usability test was conducted using the SUS (System Usability Scale), which yielded satisfactory results. (more details).
The project was presented to the Superintendency of Information Technology at the Fluminense Federal University for incorporation into the university restaurant’s official application. Currently, this integration is in the implementation phase.
Project available at: https://bandejapp.infinityfreeapp.com.
For more details on the project’s configurations, refer to composer.json.
-
Currently
-
Previously
- ❌ PostgreSQL 16.3 (until version v1.2.0)
-
Currently
-
Previously
-
Currently
- ✅ Mailgun
-
Previously
- ❌ Heroku Postgres (until version v1.2.0)
- ❌ Heroku Scheduler (until version v1.2.0)
-
Prototype
-
Icons
-
Fonts
The application layout is available on Figma:


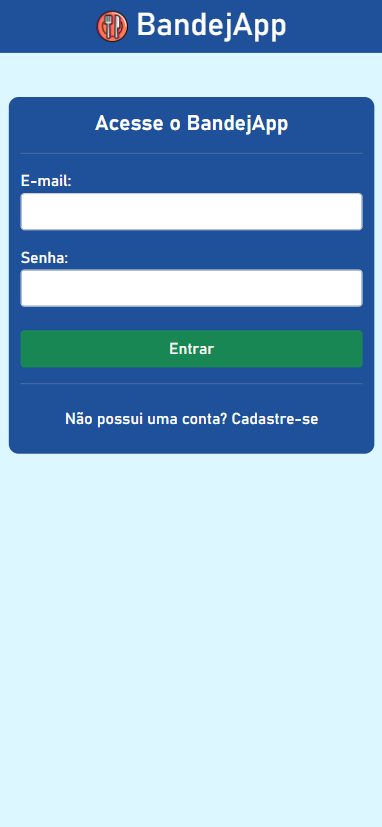
Login |

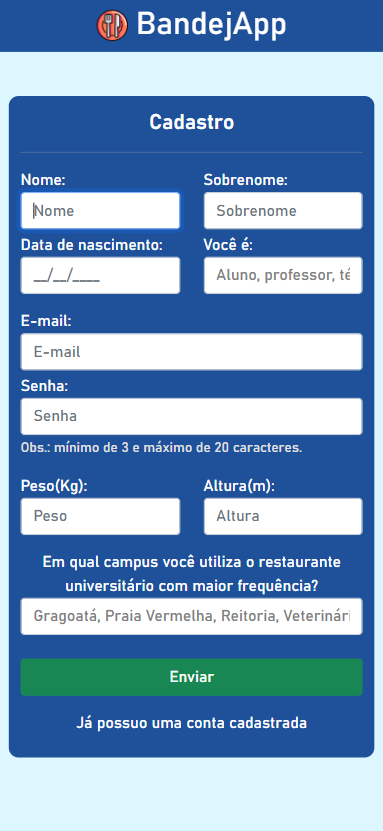
Sign up |
")
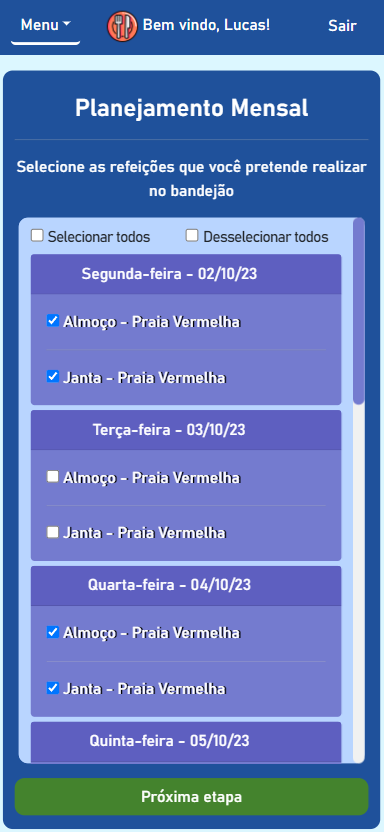
Monthly planning (register meals) |
.png "Dashboard (upcoming meals)")
Dashboard (upcoming meals) |

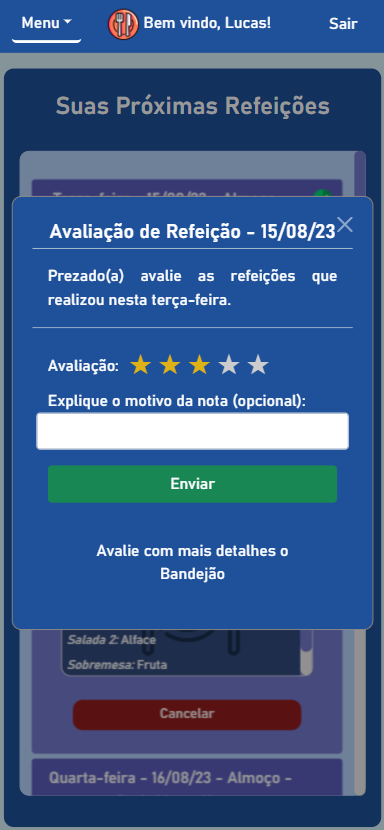
Meal review |

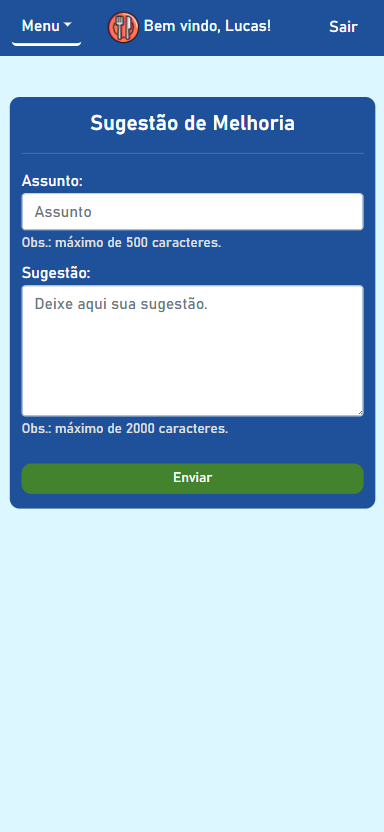
Improvement suggestions |

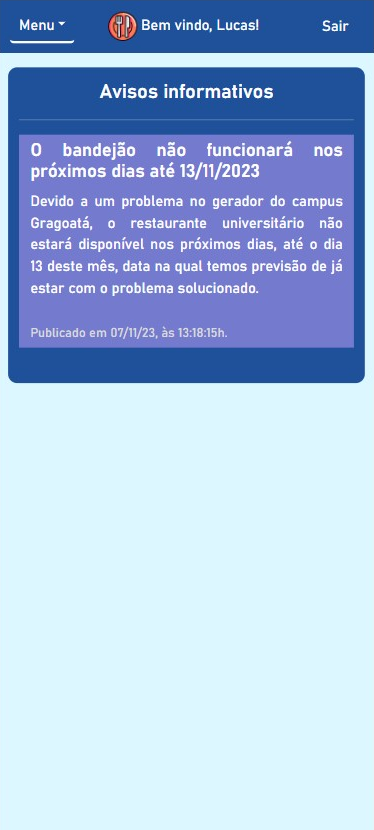
Informative notices |
")
Menu (user) |
")
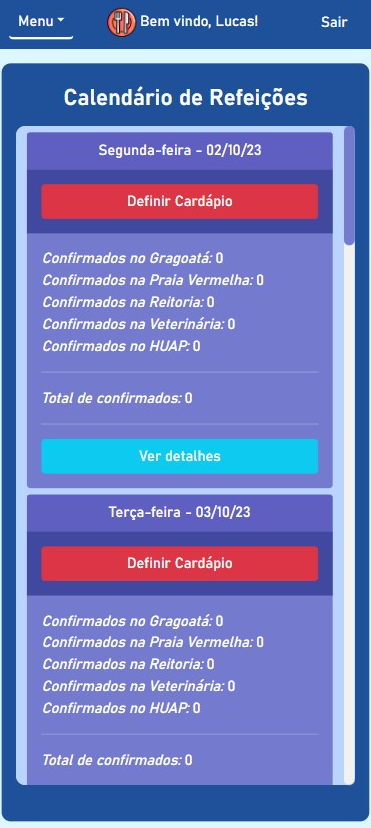
Dashboard (menus not defined) |

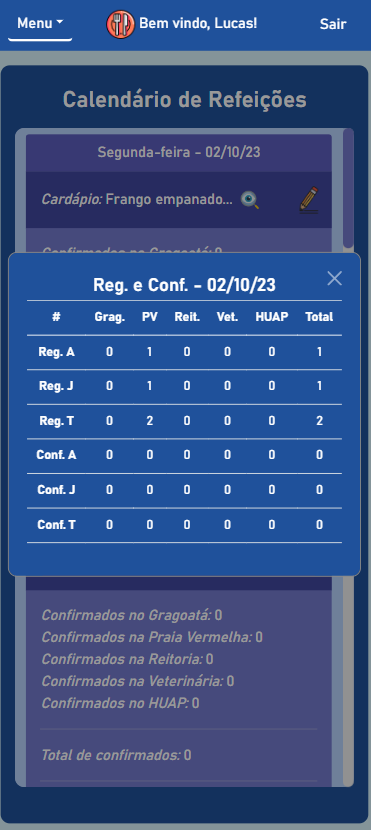
Table of registered and confirmed users |

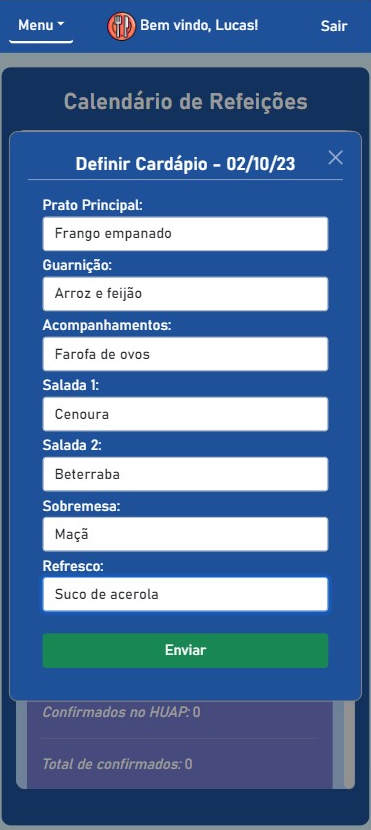
Menu definition |

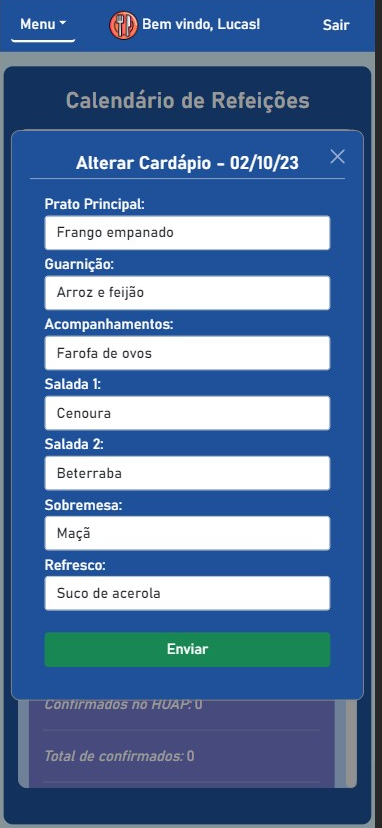
Menu editing |
")
Dashboard (menu set) |

Menu viewing |

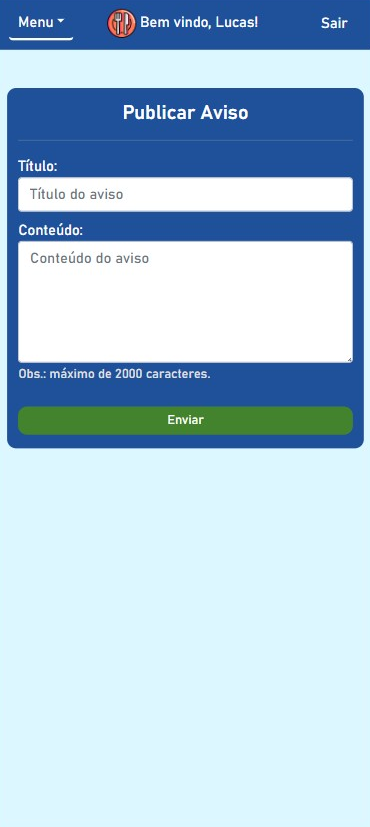
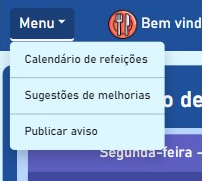
Notice publishing |

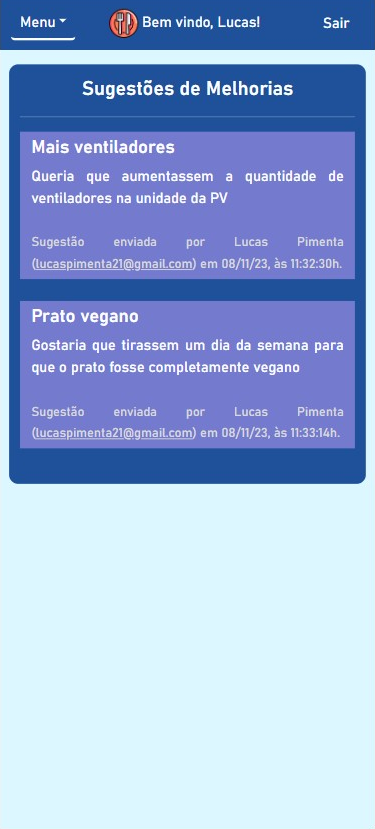
Improvement suggestions |
")
Menu (admin) |
Lucas Pimenta


|
Letícia Gago

|
Flávio Seixas
|
This software is protected by copyright, according to the following certifications issued by INPI:
- Computer Program Registration Certificate – Related to version 1.0.0.
- Computer Program Registration Certificate – Related to version 1.2.0.
This project is licensed under the GNU Affero General Public License v3.0 (AGPLv3).